Learn how to diagnose poor heat pump cooling performance, from airflow restrictions and refrigerant issues to reversing valve faults, coil problems, and compressor failures.

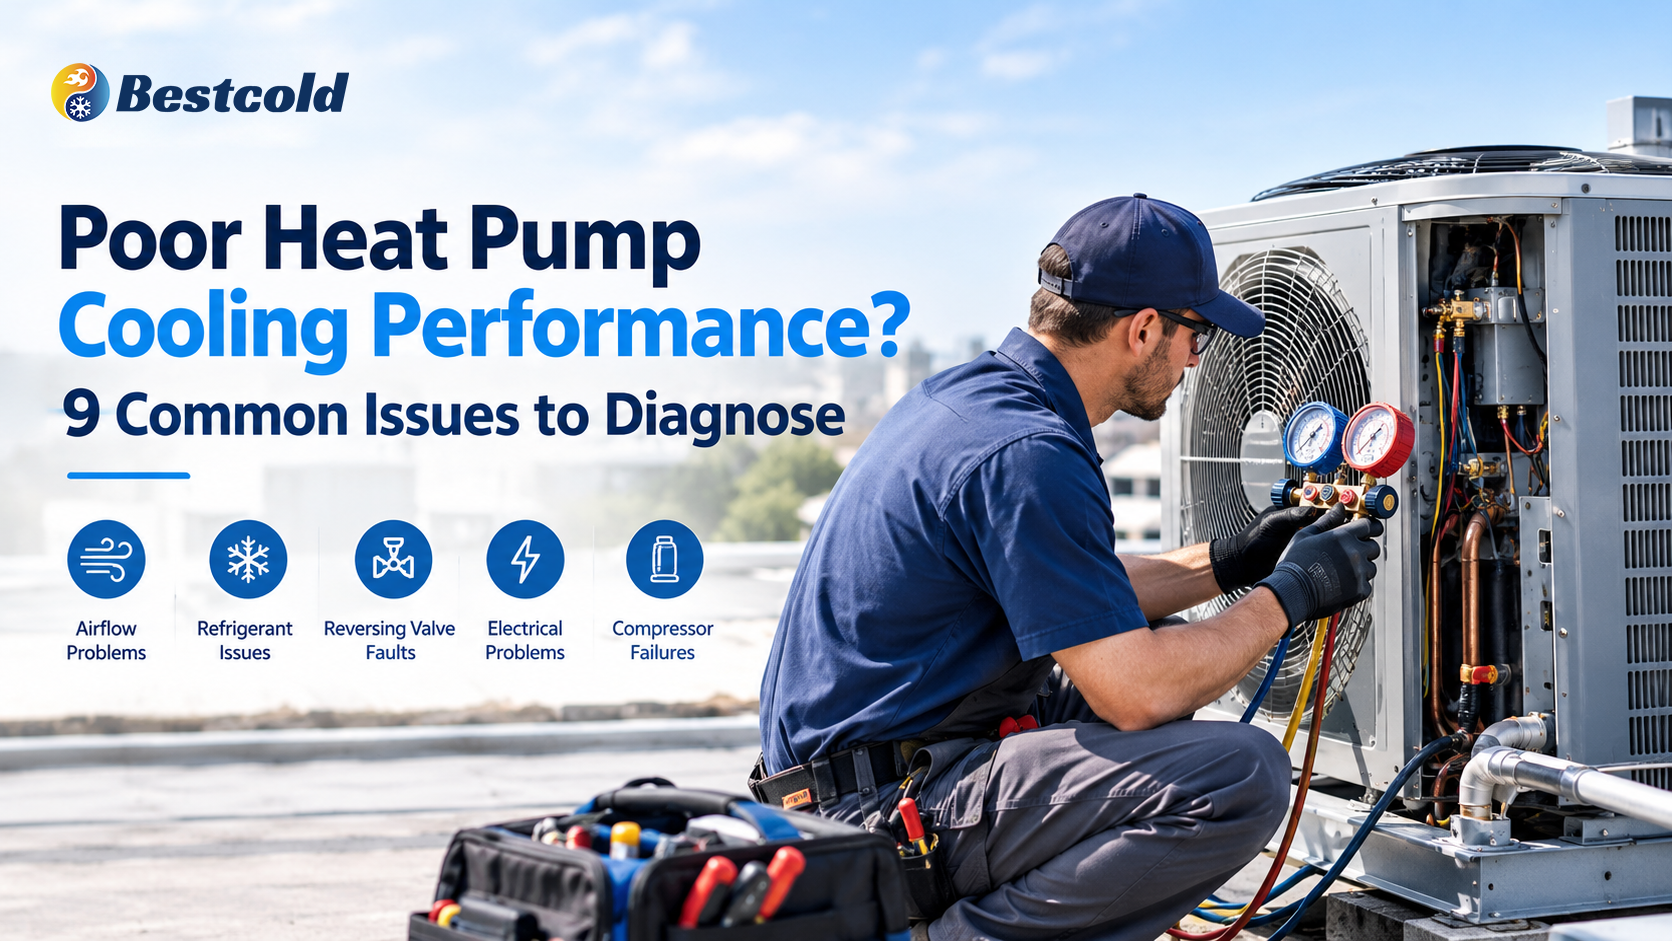
Poor Heat Pump Cooling Performance? 9 Common Issues to Diagnose
When a heat pump runs but fails to deliver adequate cooling, replacing parts without confirming the root cause can increase service time and operating costs. For HVAC technicians, the goal is to establish whether the problem originates in airflow, heat transfer, refrigerant performance, electrical controls, or the compressor and reversing valve.
Use the following diagnostic sequence to narrow down common causes of poor heat pump cooling performance in residential and light-commercial systems.
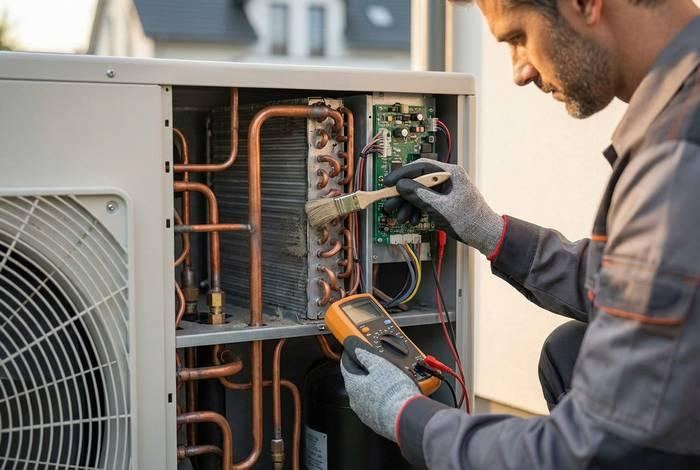
Nine Common Causes of Poor Heat Pump Cooling Performance
1. Incorrect Thermostat Settings or Control Signals
Common symptoms: The system runs in the wrong mode, cooling cycles are inconsistent, or the indoor temperature remains above setpoint.
What to check:
- Confirm the thermostat is set to Cool and the setpoint is below room temperature.
- Verify the cooling call reaches the indoor and outdoor control boards.
- Check thermostat wiring, communication errors, and configured equipment type.
- Confirm the system is not operating under a schedule, lockout, or demand-response limitation.
Technician tip: If the thermostat calls for cooling but the equipment does not respond correctly, trace the control sequence before condemning the compressor or control board.
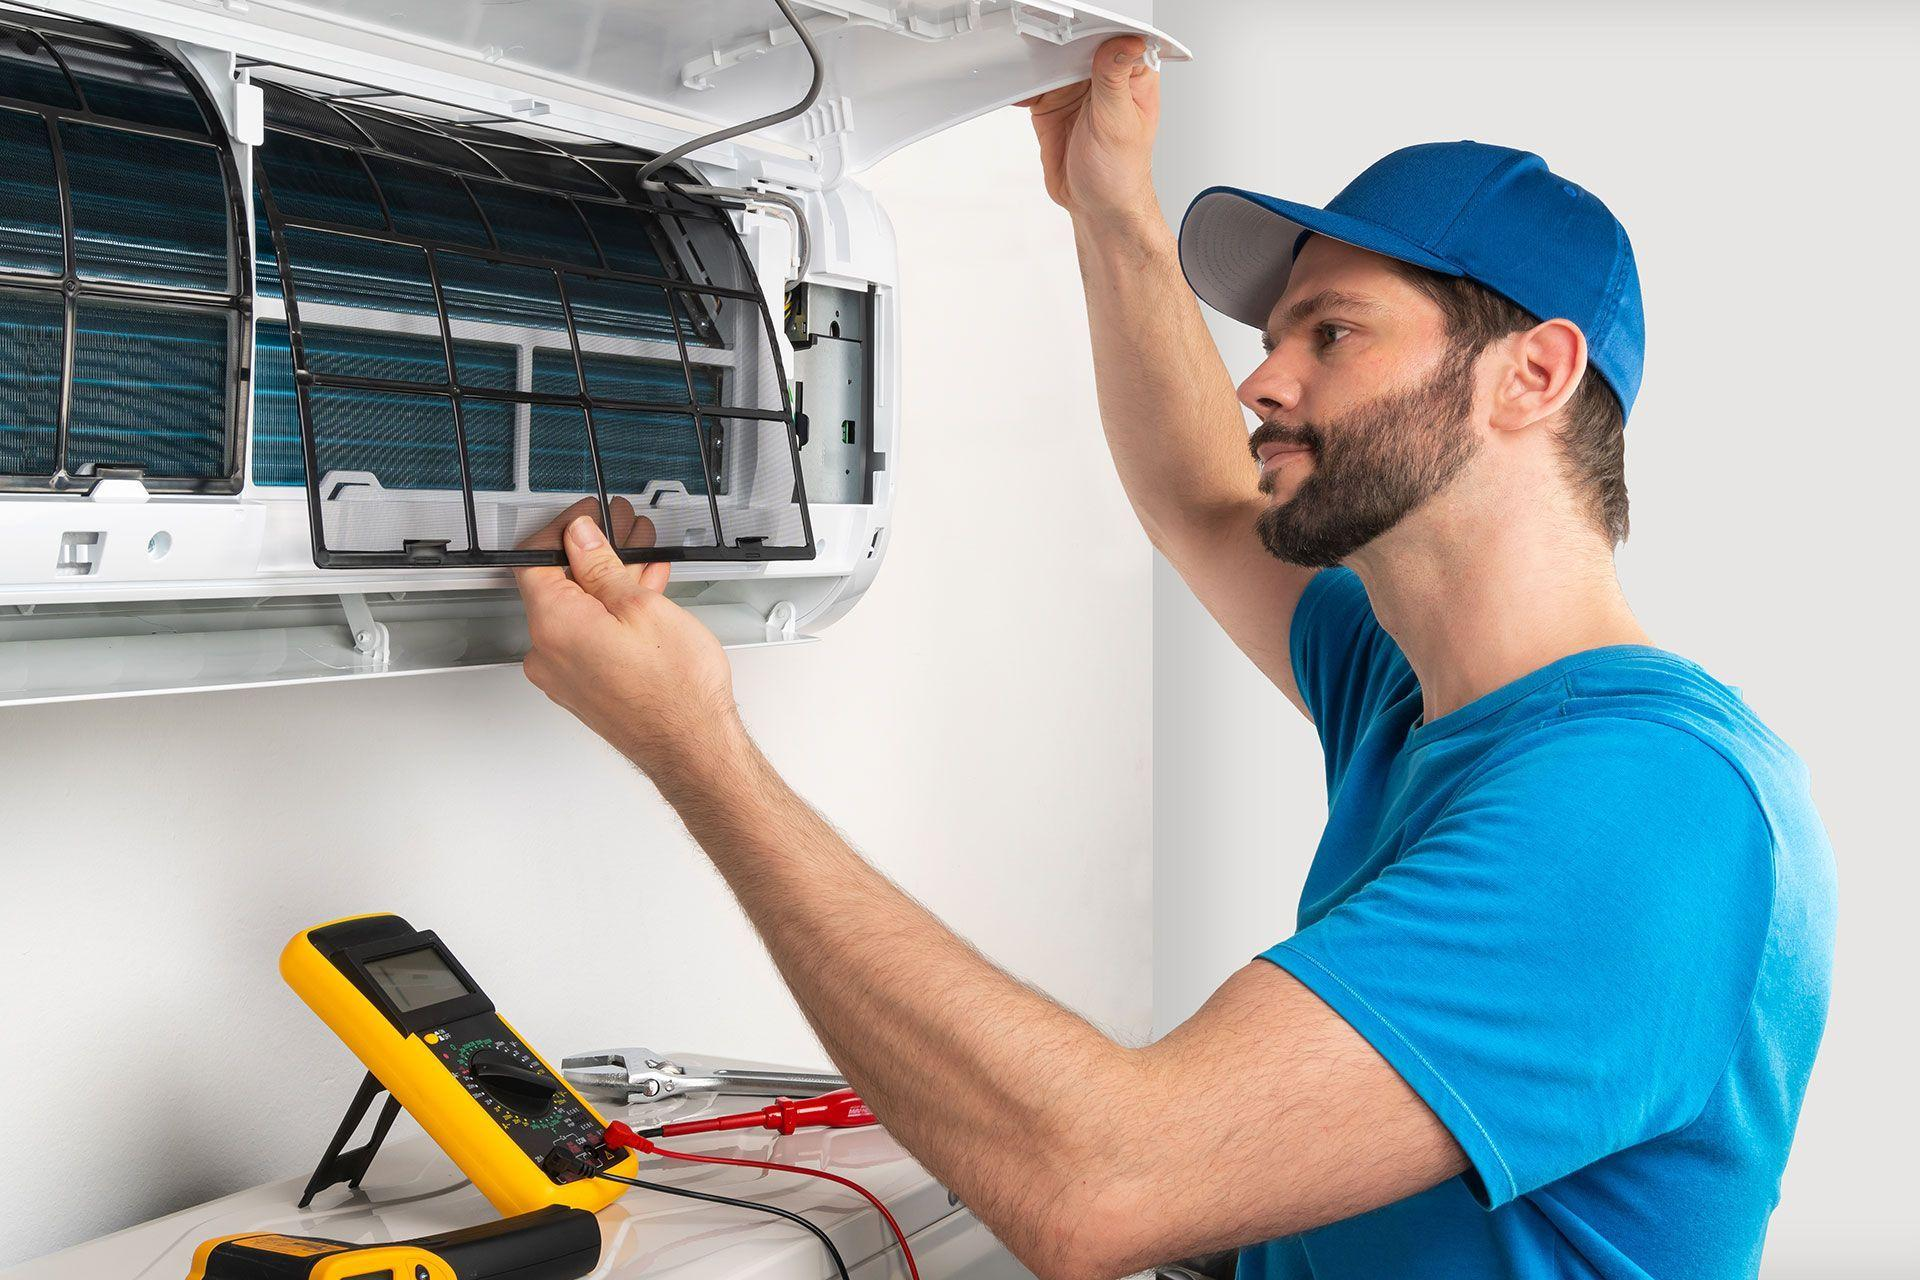
2. Restricted Indoor Airflow
Common symptoms: Weak supply airflow, uneven cooling, reduced capacity, or an evaporator coil that begins to freeze.
What to check:
- Inspect the air filter and replace it if excessively loaded.
- Check the evaporator coil for dirt buildup and restricted airflow.
- Measure total external static pressure and compare it with the equipment manufacturer's specifications.
- Verify blower speed settings, motor operation, and duct restrictions.
A dirty filter is only one possible cause. Undersized return ducts, blocked registers, incorrect blower settings, and a dirty evaporator coil can create similar symptoms.
Technician tip: Measure airflow or static pressure where practical instead of relying on supply-air temperature alone.
3. Dirty Outdoor Condenser Coil
Common symptoms: Elevated condensing pressure, increased compressor load, reduced cooling capacity, or high-pressure trips.
What to check:
- Inspect the outdoor coil for dust, grass clippings, cottonwood, and other debris.
- Confirm that the coil has adequate clearance and is not obstructed by landscaping or stored materials.
- Check for bent fins or restricted heat transfer.
- After cleaning, allow the system to stabilize and recheck operating conditions.
4. Outdoor Fan Problems
Common symptoms: Poor outdoor heat rejection, abnormal operating pressures, overheating, or intermittent high-pressure shutdowns.
What to check:
- Confirm the outdoor fan starts and maintains the specified operating speed.
- Inspect the fan blade for damage, obstruction, or incorrect rotation where applicable.
- Check motor wiring, capacitors on applicable designs, and variable-speed fan controls.
- Inspect fault codes and verify that the control board is supplying the correct command.
Technician tip: A fan that spins is not necessarily performing correctly. Verify airflow and motor operation against the manufacturer's specifications before replacing components.
5. Incorrect Refrigerant Charge or a Refrigerant Leak
Common symptoms: Reduced cooling capacity, abnormal superheat or subcooling, extended run times, or compressor protection trips.
What to check:
- Inspect accessible refrigerant connections for signs of leakage.
- Use an appropriate leak-detection method if a leak is suspected.
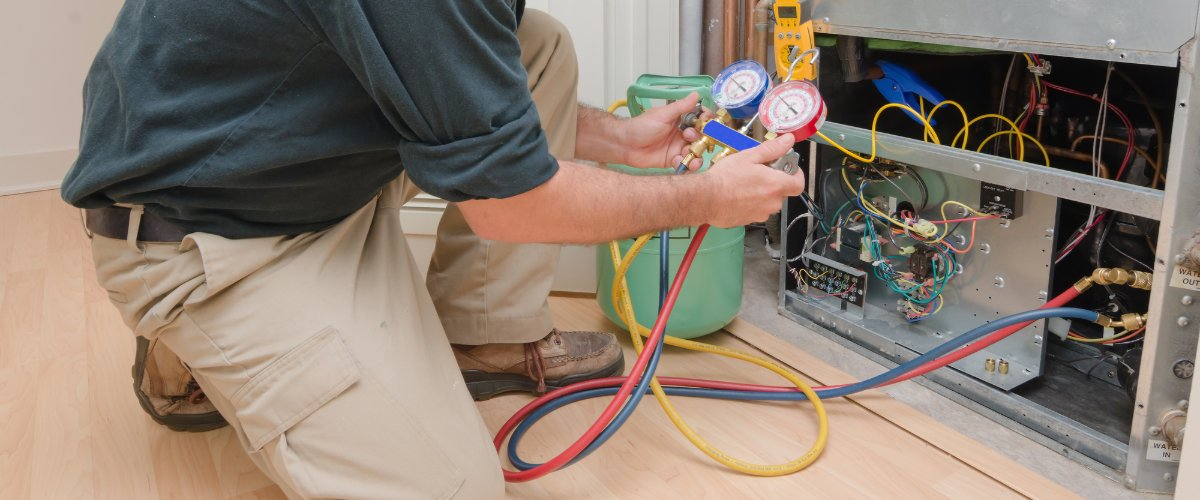
- Evaluate suction and liquid pressures alongside line temperatures, superheat, and subcooling where applicable.
- Confirm indoor and outdoor conditions, airflow, operating mode, and metering-device type before interpreting measurements.
- Compare the results with the manufacturer's charging procedure and performance data.
Low refrigerant charge can indicate a leak; it is not a normal consumable condition. Avoid charging by pressure alone, and do not add refrigerant before establishing the cause of the abnormal readings.
Technician tip: Follow the equipment manufacturer's procedures and applicable refrigerant-handling requirements. R-32 and R-454B systems require the appropriate A2L safety practices and compatible tools.
6. Restricted or Malfunctioning Metering Device
Common symptoms: Insufficient evaporator feeding, unstable superheat, low suction pressure, or reduced cooling output.
What to check:
- Evaluate superheat and subcooling according to the system design.
- Inspect applicable TXV, EEV, or other metering-device components.
- Check sensing-bulb attachment and insulation on TXV systems.
- Review electronic expansion valve commands, sensors, wiring, and fault codes.
- Consider liquid-line restrictions, filter-drier restrictions, and other upstream causes.
Do not assume a low suction pressure automatically means the system is undercharged. Airflow restrictions and metering-device problems can produce overlapping symptoms.
7. Reversing Valve Not Shifting Correctly
Common symptoms: The heat pump delivers warm air during a cooling call, produces insufficient cooling, or shows unusual refrigerant-line temperature patterns.
What to check:
- Confirm the thermostat and control board are commanding the correct reversing-valve position.
- Verify the O/B configuration and control signal for the specific equipment.
- Check the valve solenoid and associated electrical connections.
- Evaluate refrigerant temperatures and system operation to determine whether the valve is shifting fully or allowing internal leakage.
Reversing-valve control logic varies by manufacturer. Confirm whether the valve is energized in cooling or heating before diagnosing an electrical or mechanical fault.
8. Compressor or Electrical Problems
Common symptoms: The outdoor unit runs without delivering adequate capacity, the compressor struggles to start, or the system repeatedly trips on protection.
What to check:
- Verify supply voltage under operating conditions and inspect electrical connections.
- Check applicable capacitors, contactors, inverter drives, and compressor protection codes.
- Measure compressor current and compare it with manufacturer data for the operating conditions.
- Review winding resistance and insulation condition when the applicable service procedure calls for these tests.
- On inverter-driven systems, check drive faults, sensor inputs, and commanded versus actual operating frequency.
A compressor that runs is not necessarily producing the required capacity. However, low capacity can also result from refrigerant, airflow, or control problems. Confirm the evidence before recommending compressor replacement.
9. Duct Leakage, Poor Air Distribution, or Improper System Sizing
Common symptoms: Some rooms remain warm, supply airflow is uneven, the system runs for long periods, or the measured capacity does not meet the building's cooling demand.
What to check:
- Inspect accessible duct connections, insulation, and leakage points.
- Verify supply and return airflow and look for pressure imbalances.
- Check for closed dampers, blocked registers, and poorly balanced branches.
- Compare the building's cooling load with the system's rated capacity and actual operating conditions.
- Review installation records and equipment selection if the system has consistently underperformed since commissioning.
If the equipment operates within specification but cannot maintain the indoor setpoint, investigate the building load, duct system, and equipment selection before assuming a component has failed.
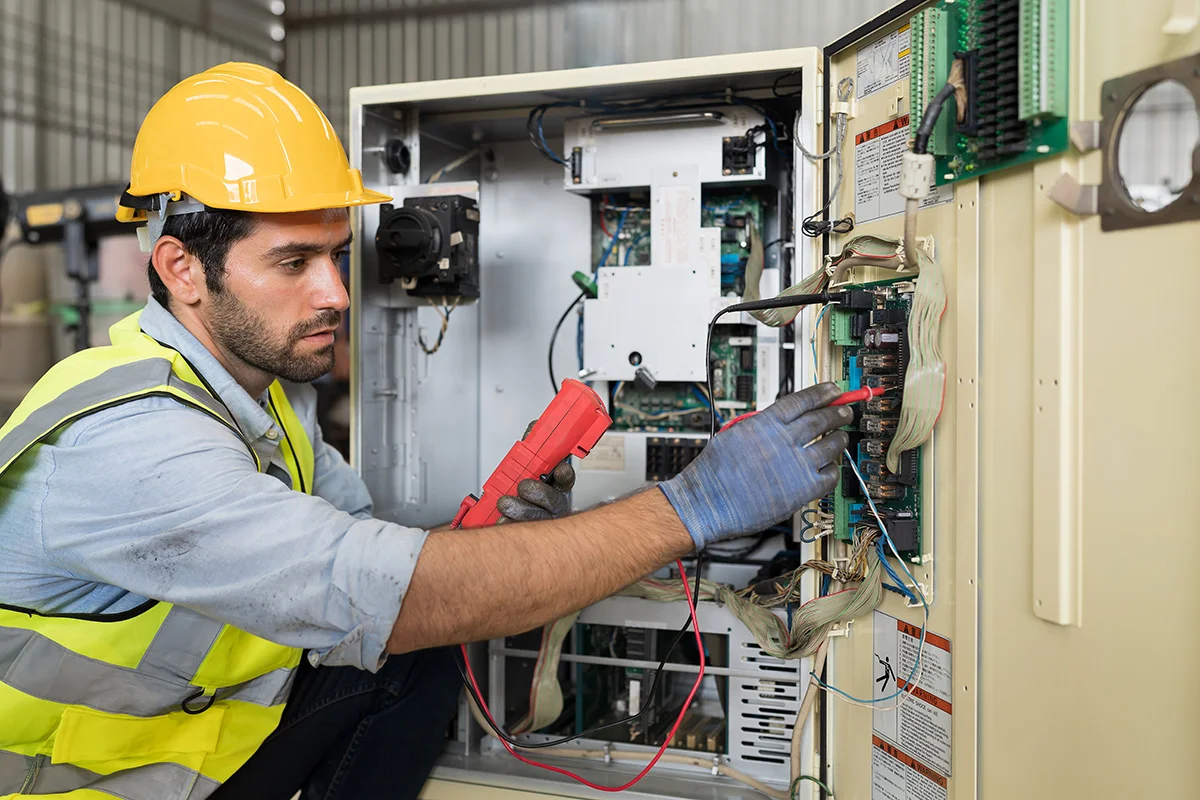
A Practical Diagnostic Sequence for HVAC Technicians
- Confirm the complaint: Record indoor temperature, thermostat setpoint, outdoor ambient temperature, and operating mode.
- Verify airflow: Inspect the filter, coil, blower, ductwork, and static pressure.
- Check outdoor heat rejection: Inspect the condenser coil and fan operation.
- Evaluate the refrigeration circuit: Review pressures, line temperatures, superheat, subcooling, and the manufacturer's performance data as applicable.
- Verify controls and compressor operation: Review fault codes, electrical readings, reversing-valve operation, and inverter performance.
- Confirm the repair: Allow the system to stabilize, repeat relevant measurements, and document the results.
Final Takeaway
Poor heat pump cooling performance rarely has a single universal cause. Accurate diagnosis depends on combining airflow measurements, refrigerant-circuit evaluation, electrical checks, and manufacturer-specific operating data.
For HVAC contractors and service teams, a consistent diagnostic process helps reduce unnecessary component replacements, improve first-visit resolution, and support long-term system reliability.
When recurring failures point to equipment selection, installation quality, or product reliability, reviewing the system's application requirements and manufacturer support resources can also help prevent repeat service calls.


